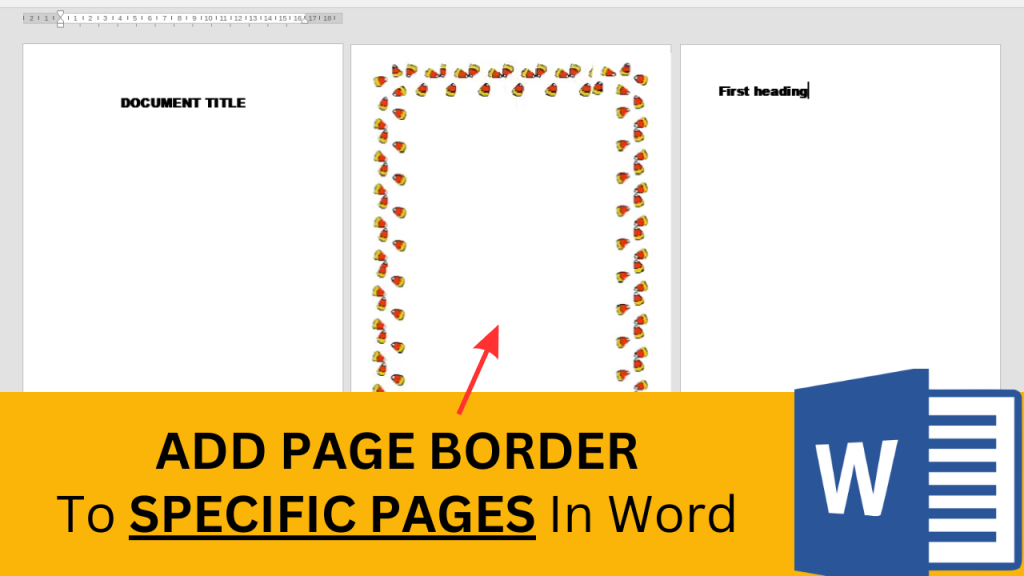
If you’re wondering how to insert a border in word on specific pages, see this video below:
https://youtu.be/StczqoWBL0M?si=-u87G3uEnpTNtQ-h
Steps to Insert a Page Border in Word on Specific Pages in Word
To insert a border on Specific page in Word, see the following steps (also watch the video above):
- Go to ‘design’
- Click on ‘page border’
- Select the box outline
- Select the border style that you’d like
- If you only want the page border to apply to the first page, then click the drop down menu on the bottom right and select ‘first page only’
- If you want the border to be on all pages except your first page, then select that option from the drop down.
- If you want the border to be on specific pages, for example the 2nd page, or the 4th, 5th, and 6th page, etc, then you’ll need to select the ‘this section’ option, but before you select the ‘this section’ option, you’ll need to first create the section. To create the section that you’d like to add the borders to, you’ll need to create section breaks.
- For example, if you’d like to add a page boarder on Page 6, 7 and 8. Click at the top of page 7.
- Click on ‘Layouts’
- Click on ‘Breaks’
- Select ‘Continuous’
- Click at the top of page 8
- Click on ‘Layouts’
- Click on ‘Breaks’
- Select ‘Continuous’
- By adding page breaks on Page 6 and page 8, you’ve create a section for page 6-8.
- Now to add your page borders to page 6-8, click anywhere on page 6
- Go to design
- Go to page border
- Select your border styles
- In the dropdown at the bottom right of the page, select ‘This Section’ and you’re borders will be added to page 6,7 and 8.
To see how to insert borders in word on all pages, click here.
If this was helpful, please see the other videos on the How To Studio youtube channel.
